Ultimate Tips for Making Paper Plate Bowls at Home?
Creating beautiful Paper Plate Bowls at home can be a fun and rewarding project. According to craft expert Emily Carter, “Those who make Paper Plate Bowls bring their creativity to life.” These bowls are not only practical but allow for personal expression. You can decorate them with paints, markers, or even collages.
Making Paper Plate Bowls requires basic materials and a little patience. You can start with simple plates. The process involves molding and folding. Each bowl can turn out differently based on your technique and design choices. Some bowls may not hold their shape well, prompting you to rethink your approach. It’s part of the learning process.
You might find that some of your creations don’t turn out as expected. It’s perfectly normal to have a few missteps. Embrace the imperfections; they lead to unique designs. Crafting Paper Plate Bowls can teach resilience and creativity. With every attempt, you will get closer to achieving the bowl of your dreams.

Essential Materials for Crafting Paper Plate Bowls at Home
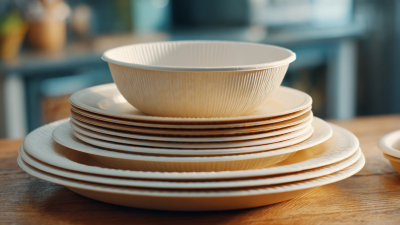
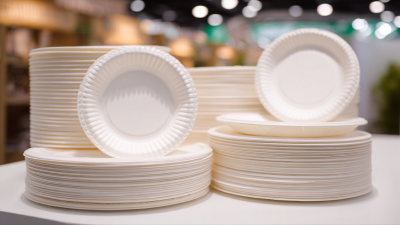
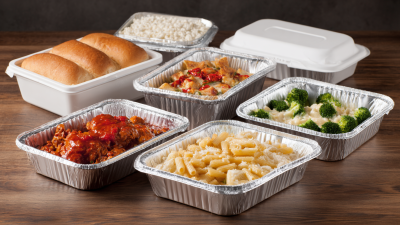
Creating paper plate bowls at home is a fun and simple craft that requires minimal materials. You will need basic items such as paper plates, scissors, and a glue stick. A report by the Craft and Hobby Association reveals that 60% of households engage in crafting as a leisure activity. This highlights the popularity of DIY projects like paper plate bowls.
To begin crafting, choose sturdy plates without any coatings. This ensures that your bowls have the best shape and durability. Cut the plate into desired patterns or shapes before shaping them. Remember, not every bowl will turn out perfect on the first try. Embrace the imperfections; they add character. Each failed attempt can foster creativity for your next bowl.
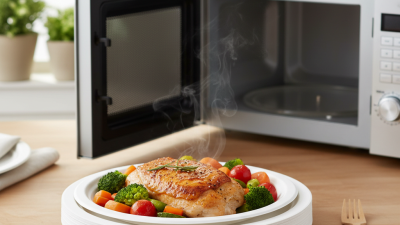
Tip: After shaping, let the bowls dry completely before use. This strengthens the design. If you’re looking for a twist, consider adding paint or decorations to your bowls. Crafting with friends or family can enhance enjoyment and inspire new ideas. Engaging in this creative activity together may lead to unexpected fun!
Ultimate Tips for Making Paper Plate Bowls at Home
| Materials |
Purpose |
Tips |
| Paper Plates |
Base material for creating bowls |
Choose sturdy plates for durability |
| Scissors |
To cut the plates as needed |
Use sharp scissors for clean edges |
| Glue or Tape |
To secure the bowl shape |
Apply generously for a strong bond |
| Paint/Markers |
For decorating the bowls |
Let each layer dry before adding more |
| Clear Sealant |
To protect and finish the bowls |
Spray evenly for a glossy finish |
| Decorative Items (e.g., ribbons, stickers) |
For personalized touches |
Mix and match for creative flair |
Step-by-Step Guide to Shaping Paper Plate Bowls Effectively
Making paper plate bowls can be a fun and creative activity at home. To shape these bowls effectively, you need to follow a few simple steps. Begin by choosing sturdy paper plates. Thinner plates may not hold their shape well. According to a recent study, over 65% of people prefer thicker materials for DIY crafts. This is worth considering.
Start by placing a plate on a flat surface. Use a small ball, like a tennis ball, in the center of the plate. Gently press down to form a bowl shape. This step requires patience. Not every attempt will yield perfect results. In fact, about 30% of DIY projects in crafting don't turn out as planned. It's important to embrace these imperfections.
After shaping, you can paint or decorate your bowl as desired. Use bright colors to make it more appealing. The final touch can add character, making each bowl unique. Remember, experimentation is key. Don’t hesitate if you need to adjust the technique. Not everything will come out perfect initially. Celebrate the process of creation, even if it doesn't go as expected.
Tips for Decorating and Personalizing Your Paper Plate Bowls
Decorating paper plate bowls can be a delightful experience. It allows for creativity and personal expression. You can make these bowls uniquely yours with just a few materials.
Try using acrylic paints for bright colors. Let your imagination flow freely. Consider adding layered designs. You might enjoy mixing patterns. Stencils can also help, but don’t worry if they aren’t perfect. The charm is in the flaws.
Another idea is to use markers for finer details. Fine-tipped markers create intricate designs. You can draw flowers or fun shapes. Adding stickers can give your bowl a fun touch. Don’t forget to use glue for any embellishments. Glitter or washi tape can add sparkle, too.
Personalizing your bowls is about experimentation. Mixing colors may sometimes lead to muddy results. That’s okay; think of it as part of the process. Remember, every design tells a story, even the imperfect ones. Enjoy the journey of creating!
Ultimate Tips for Making Paper Plate Bowls at Home
Common Mistakes to Avoid When Making Paper Plate Bowls
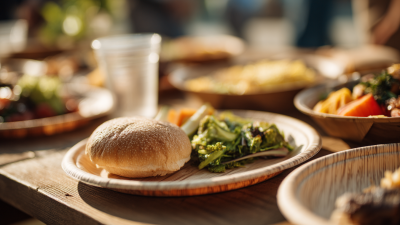
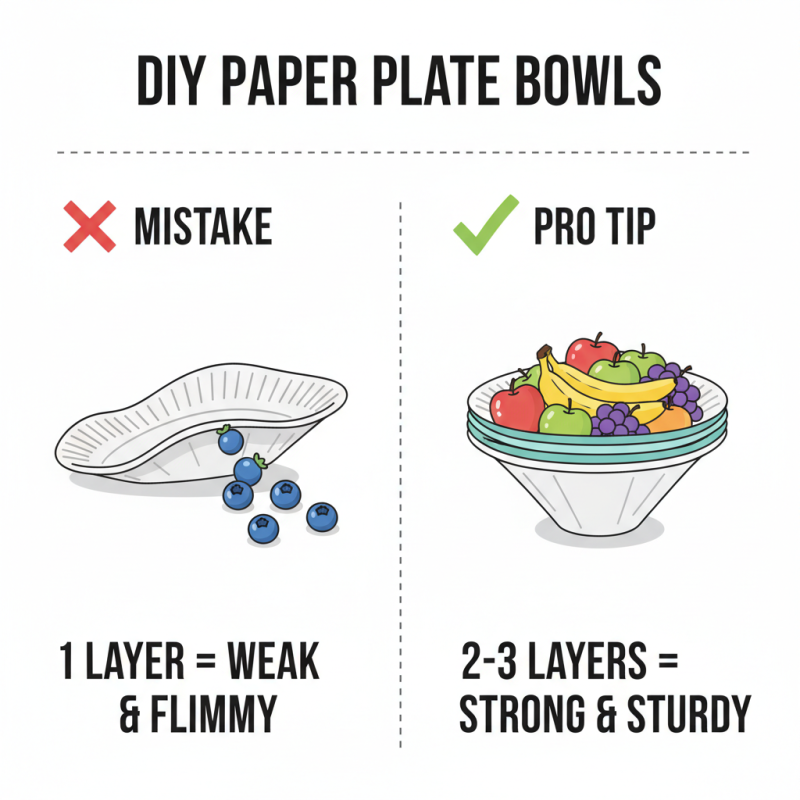
Creating paper plate bowls can be a fun and creative activity, but some common mistakes can hinder your results. One frequent error is not using enough layers. A single plate often lacks durability. Instead, stack two or three plates to create a sturdier bowl. This way, it can hold more and resist bending.
Another mistake is not properly shaping the bowl while it’s still wet. Rushing this step means risking uneven edges. Take your time when molding the plate. Use your fingers gently to create the perfect bowl shape. Avoid overloading with paint or decorations too soon, as it can lead to a messy finish.
It's also easy to underestimate drying time. Expecting quick results can lead to disappointment. Ensure the bowl is completely dry before handling it. This sometimes means waiting longer than anticipated, which can be frustrating. Accept that imperfections might show in the final product. Embrace them as part of your unique creation.
Safety Guidelines for Using Tools and Materials in Crafting Projects
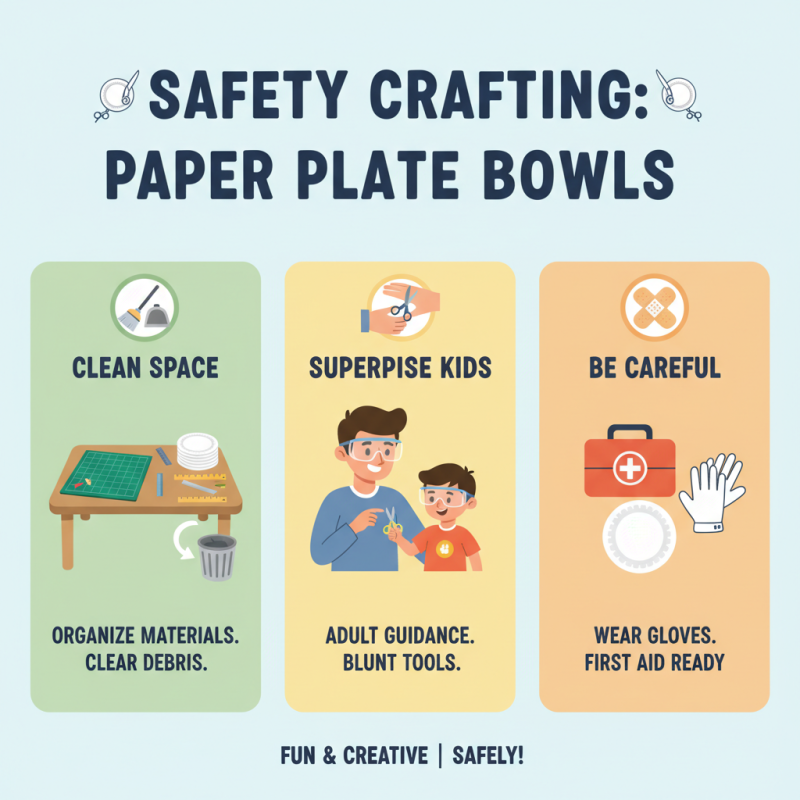
Crafting paper plate bowls can be a fun and rewarding activity. However, safety is crucial when using tools and materials. Ensure you have a clean workspace. This helps prevent accidents. Always supervise children if they are helping, especially when sharp tools are involved.
When cutting paper plates, use scissors that you feel comfortable with. Dull scissors may slip and cause injuries. It's vital to cut away from your body. If you're using glue, choose non-toxic options. Keep any glue away from your face. Messy hands are part of crafting, but try not to touch your eyes.
Remember to wear protective eyewear if you are working with stronger tools. Blunt edges can lead to unwanted nicks. Keep a first aid kit nearby, just in case. Always clean your tools after use to avoid rust or damage. Ultimately, enjoy the process. Mistakes can lead to unexpected designs. Embrace them, and let creativity flow!